Virtual reality has become an invaluable tool for VDC and pre-construction teams because it allows you to review spaces - and clashes - in true 1:1 scale. But it’s equally important to document what’s found during these meetings so that everyone is on the same page when the meeting ends.
This Navisworks to VR workflow allows you to run visual clash detection via Navisworks Clash Detective, view those clashes in VR, create 360-degree panoramas to document those clashes, and then review and share those clashes using a Google Cardboard. After you’ve reviewed clashes, the panorama serves as an easily accessible record of the clash.
In this post, we’ll show you the exact workflow for bringing your Navisworks clashes into VR, converting them into panoramas, and reviewing them with your Google Cardboard. Note that this workflow will also work with other mobile VR headsets like the Google Daydream or Samsung Gear VR.
The Navisworks to Google Cardboard Workflow
- Sign up and install the free Prospect Navisworks plugin and Scope app by IrisVR.
- Open the model you want to review and run clash detection in Navisworks using Clash Detective.
- Export the Clash Report as viewpoints in Navisworks.
- Use the Prospect Nasvisworks plugin to open your Navisworks model in virtual reality. You can use Prospect with an HTC Vive, Oculus Rift, or Windows MR headset.
- All the selected clashes will be imported into VR and converted into Viewpoints in Prospect. Navigate to your first clash Viewpoint and make any necessary markups or annotations.
- Click the “Camera” icon and select “360” to take a 360 capture of the clash. Repeat steps 4-5 until you’ve captured all your clashes. By default, these 360 panoramas are saved to your desktop.
- Upload the resulting 360 Captures into Scope, then view them in Google Cardboard!
The full Navisworks to Google Cardboard workflow is listed below — we’ll break down each step into further detail.
Step 1: Install the free Prospect Navisworks VR plugin.
This part’s easy - all you have to do is sign up for a free 45-day trial of Prospect at this link and install our free Navisworks VR plugin, which takes your model into VR with one click.
Pro tip: Navisworks must be closed prior to installation so that everything runs smoothly.
Step 2: Run clash detection in Navisworks.
After you’ve installed the free VR plugin, open your Navisworks file and set up a clash test using the Clash Detective tool. For more information on using Clash Detective, we recommend visiting the Autodesk Knowledge Network.
Step 3: Export the Clash Report as viewpoints in Navisworks.
In the Report tab of the Clash Detective tool, export the Report “as viewpoints” - see the screenshot below for the exact location in Navisworks.
This step is important because your Navisworks viewpoints will automatically be imported into Prospect as individual Viewpoints.
Prospect’s Viewpoints are locations that you can instantly travel to in VR as you’re performing a walkthrough of your model.

In your Navisworks saved viewpoints window, a folder will be automatically created containing all of the newly created clash viewpoints.
Step 4: Bring your Navisworks model in VR using the plugin.
Now you’re ready to bring your 3D model into Prospect. Click the “IrisVR” tab in Navisworks and then click “View in VR”.
Use the selection tree to choose the specific locations you want to view in VR or click “Select all” to import all your views. Once you’re done with this step, click Start Processing — Prospect will automatically optimize your model’s geometry for VR.
When the file is done processing, set up your HTC Vive, Oculus Rift, or Windows MR headset and click View in VR.
Here’s a quick tutorial for bringing your Navisworks model into VR using the Prospect plugin:
Step 5: Navigate to your first Clash Viewpoint, making any necessary markups.
When you’re in VR, navigate to your first clash using the Viewpoint tool. This location will be the site of the first clash listed in your original Navisworks model. If need be, you can also create new Viewpoints from within VR.

You can use any of Prospect’s native tools to highlight issues and make note of necessary changes. For instance, you could use the Brush tool to mark a specific clash point or call out individual elements with our Flag Element tool.
Step 6: Take a 360 Capture of the clash.
When you’re satisfied with the markups you’ve made, you can instantly capture a 360-degree panorama using the 360 Capture tool.
All you have to do is click the camera icon on the in-VR menu, then toggle 360 Capture on. Squeezing your right-hand trigger will capture the panorama, and the image will automatically save to your desktop.
If you’d like to do this for more clash points, just repeat steps 4-5 again until you’ve captured all the 360-degree panoramas you need.
Step 7: Upload your 360 Captures into Scope and view them with your Google Cardboard.
To upload your 360 Captures into Scope, go to the IrisVR website and navigate to the drop-down menu next to your username. This will log you into your Scope Library, where you can manage all of your 360-degree panoramas.
A set of multiple panoramas is called a Panoset. To create a new Panoset, navigate to My Panosets in the upper left and click the “+” icon.
Once you’ve created your new Panoset, you can add panoramas by dragging and dropping them in — or by uploading them manually.
If you want to rename your panoramas or reorder them within the Panoset, you can use the pencil icon next to the name of the panorama or Panoset to make edits.
Once your panoramas are ready to go, open the Scope App on your phone and log into your account. Your Panosets will show up in your library, ready to be downloaded onto your iPhone or Android device.
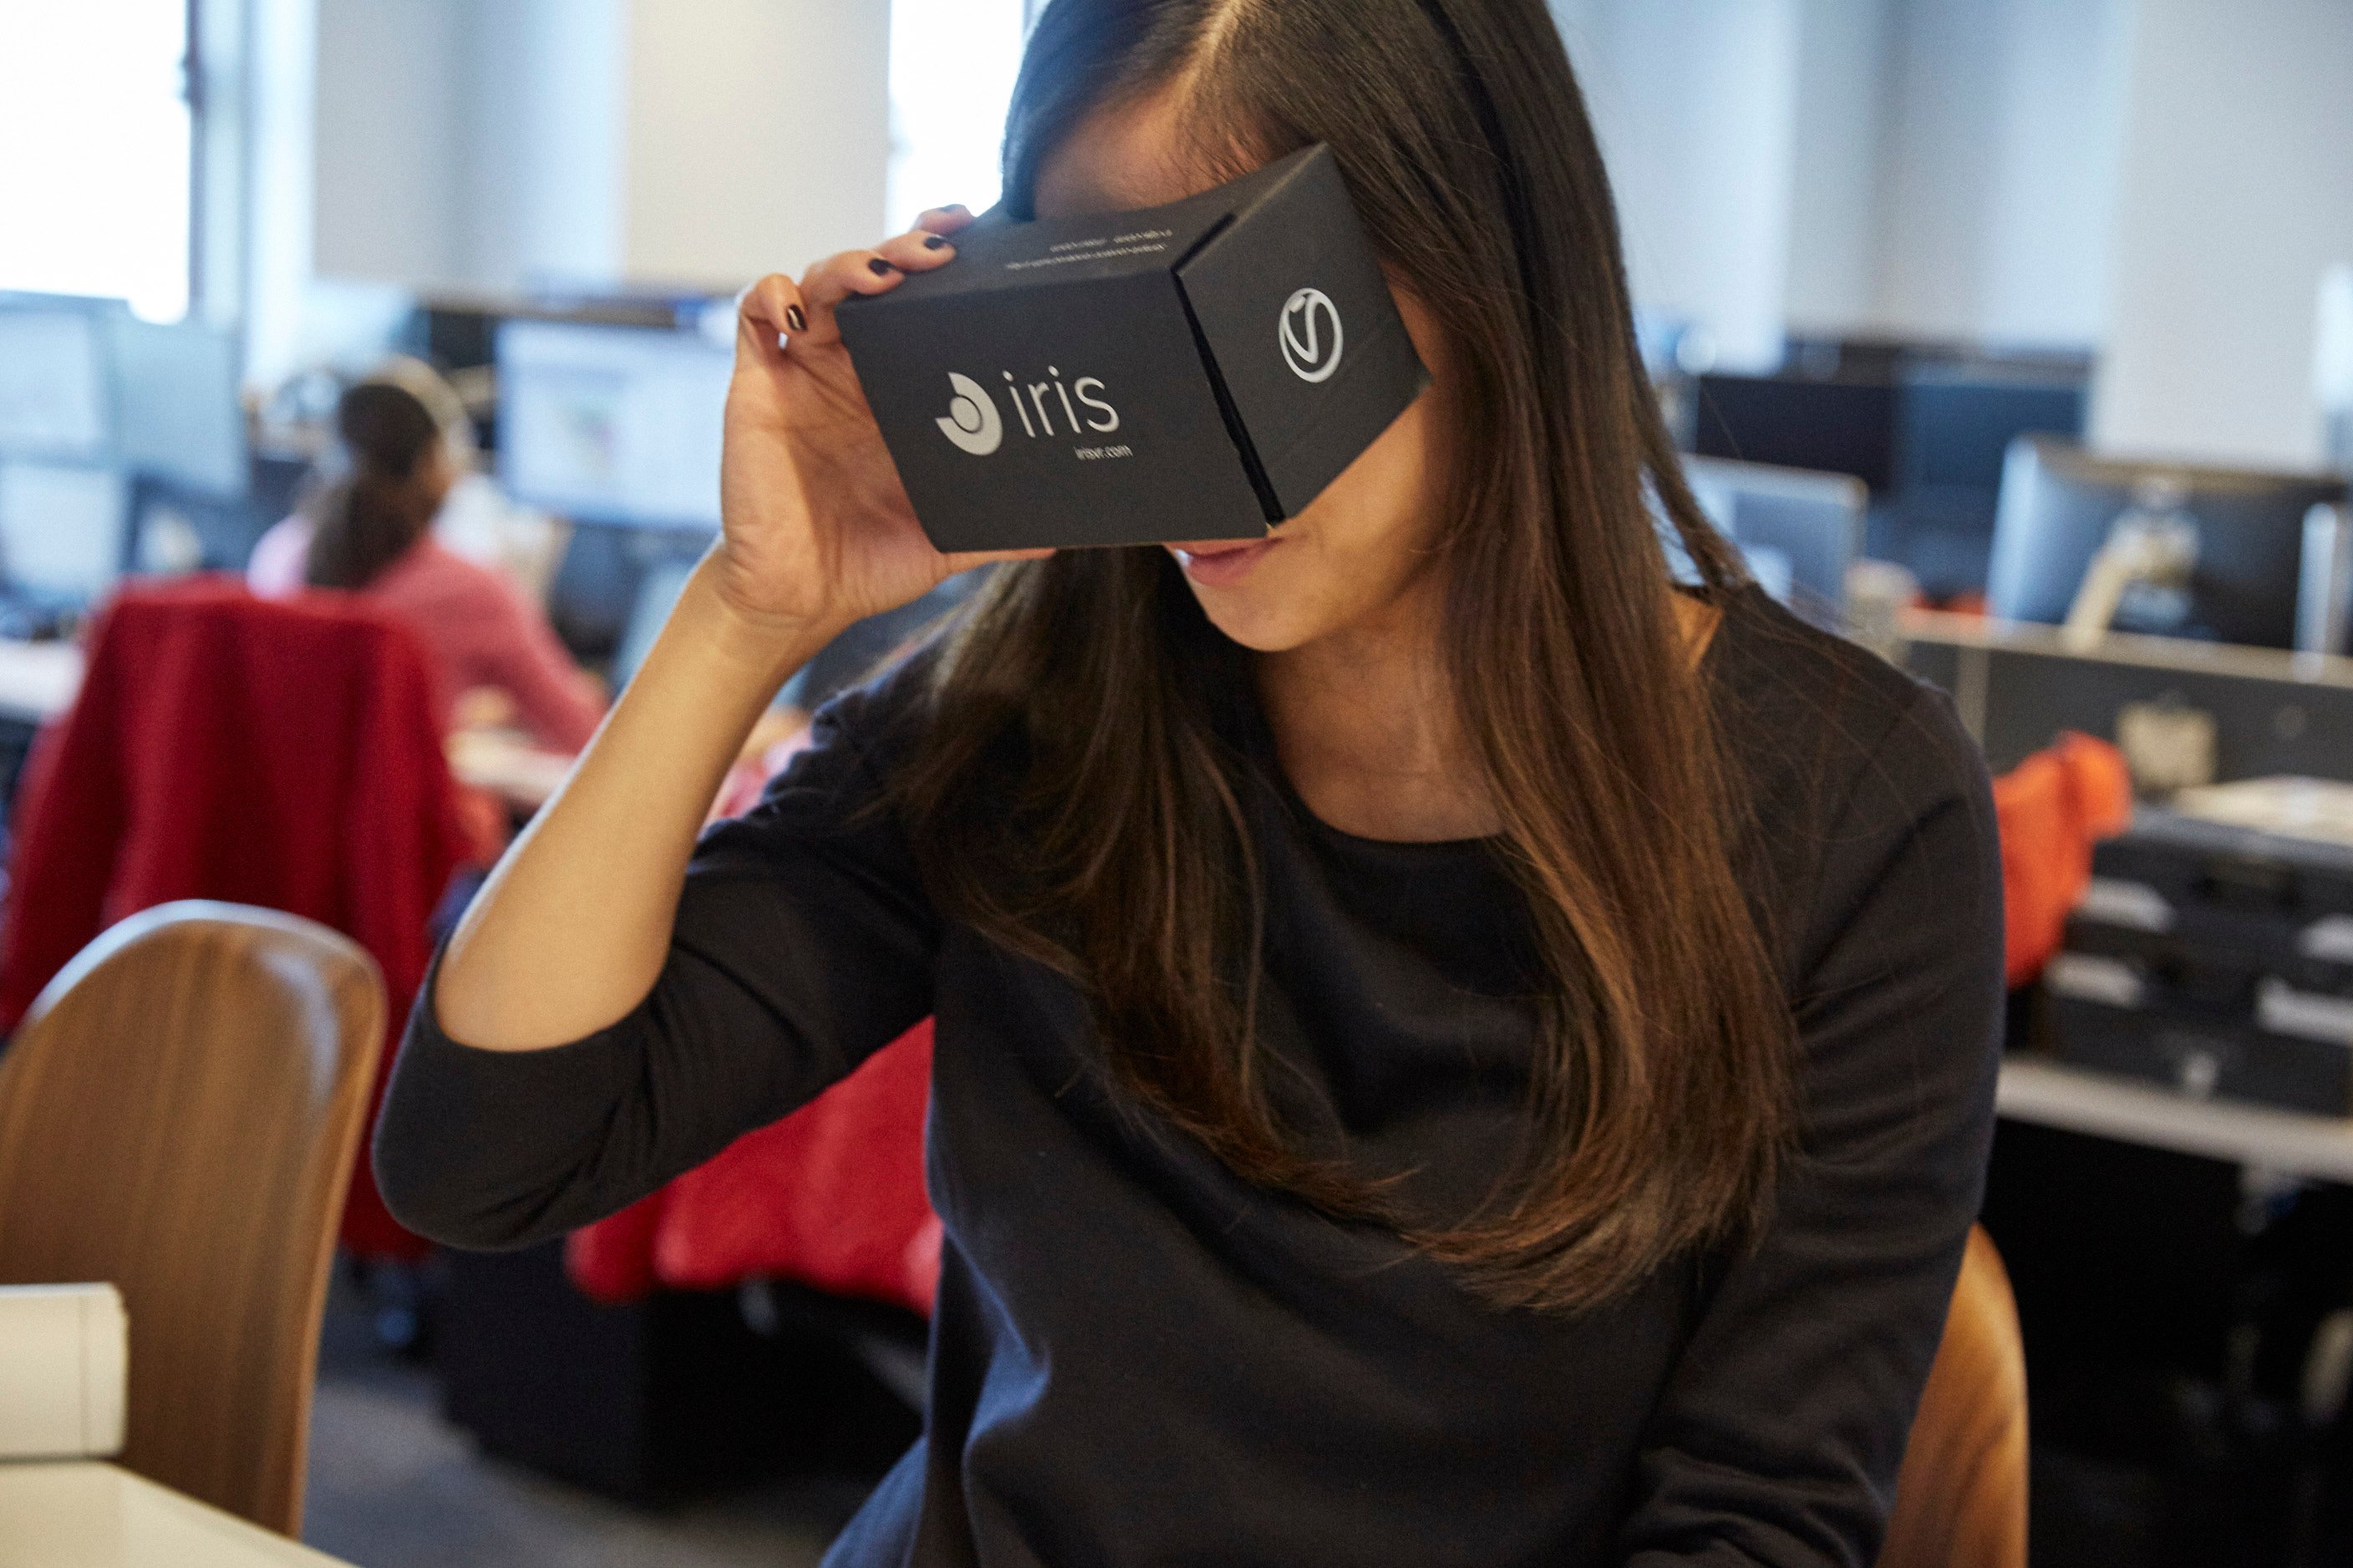
After downloading, all you need to do is tap the panorama you’d like to view, flip your phone, and place it inside your Google Cardboard — it’s that easy!
You can also share Panosets directly with people by sending them the link so that they can view the panoramas on their computer (example here - this is the link to the above Panoset). If you make any changes to your Panoset (like adding or deleting panoramas), the link will stay the same - so you can make updates without sending a new link to your team.
Action Items
You now know everything necessary to view Navisworks clashes with Google Cardboard and to start catching clashes in advance. Some action items to get started:
- Start a Prospect trial
- Start a Scope trial
- Download the latest version of Navisworks
- Acquire a Google Cardboard - these headsets are compatible with the vast majority of smartphones on the market today, and available for less than $15 on Amazon.
.png?width=212&name=Prospect%20by%20IrisVR%20Black%20(1).png)

